
In this article you will learn how to setup the SalesPoint tenant. This is done in Postman.
Step 1:
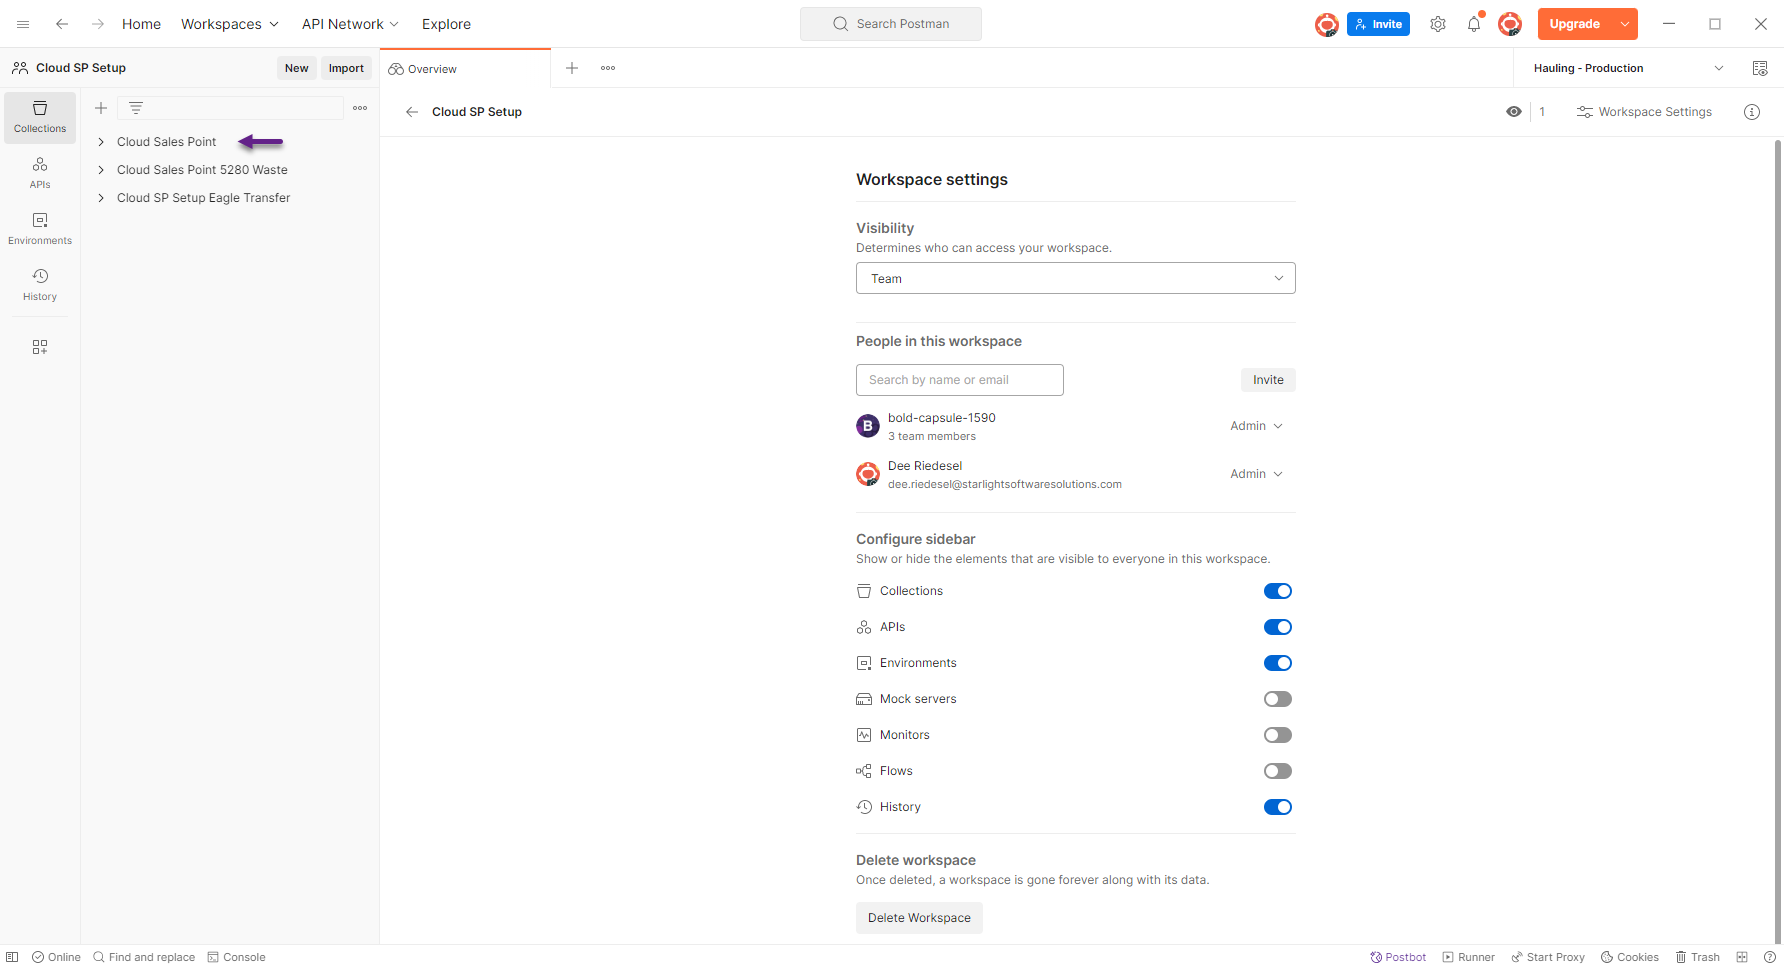
Log into Postman and get your Sales Point template setup. Look for the collection titled 'Cloud Sales Point'.
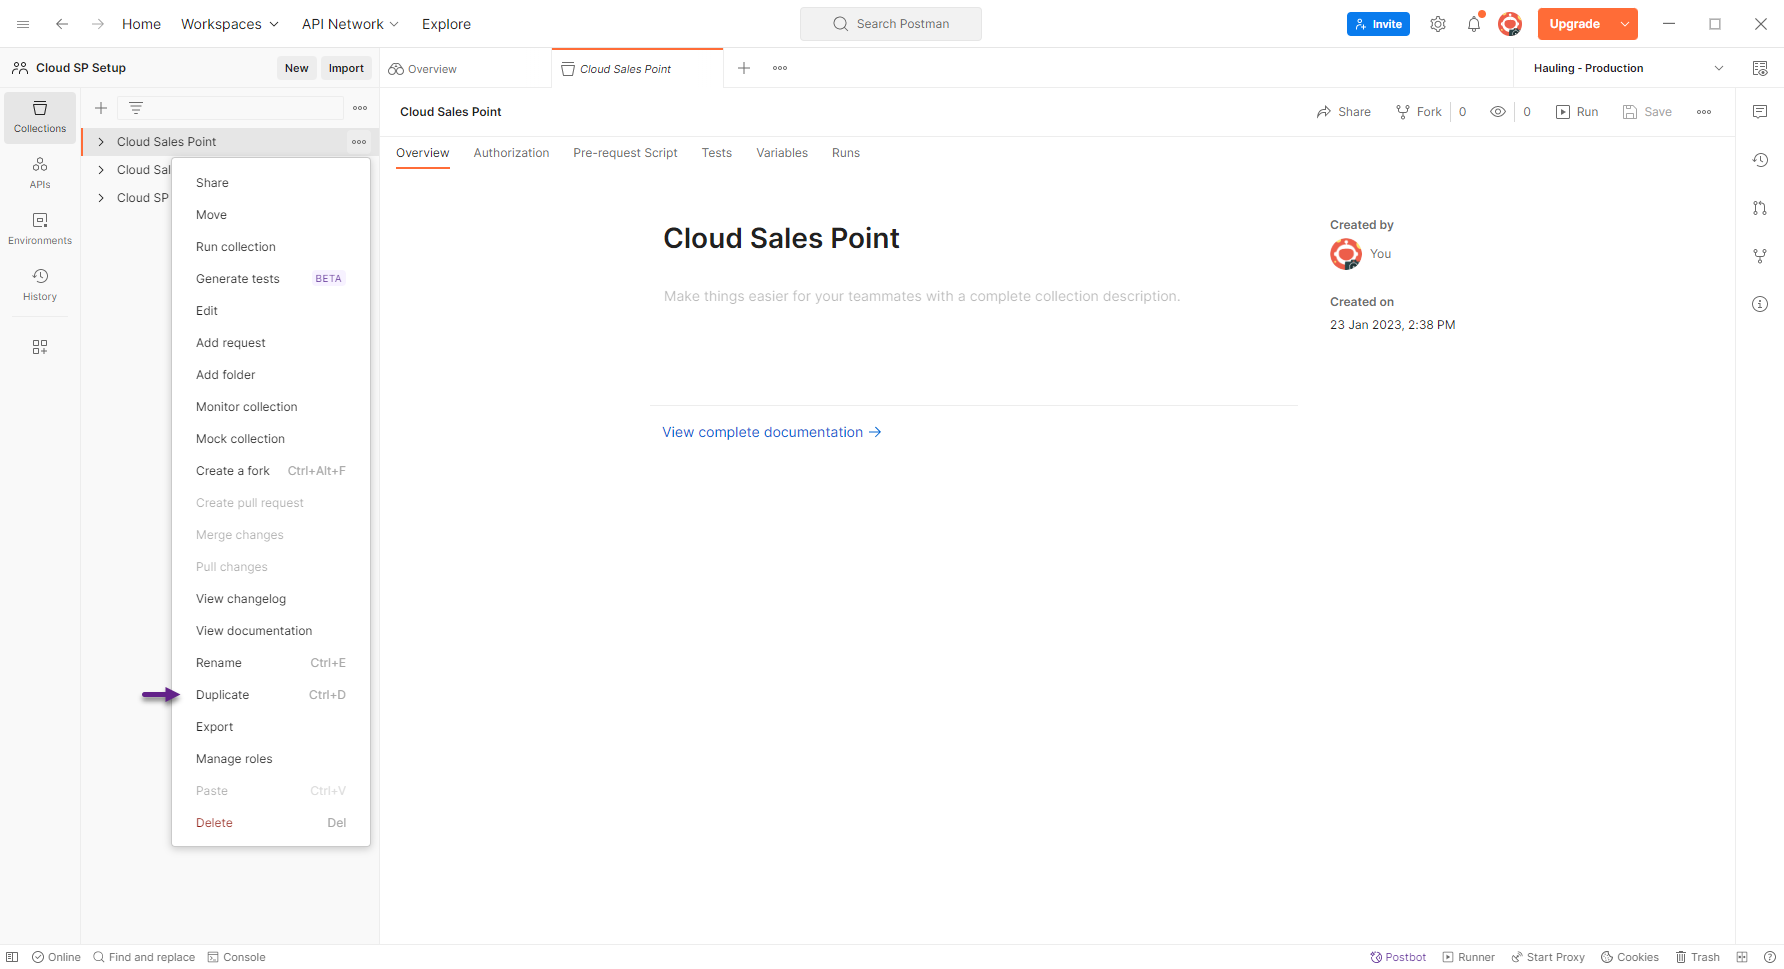
The 'Cloud Sales Point' is a blank template. To duplicate the template Right click on 'Cloud Sales Point' and then select Duplicate. Or you can use the keyboard shortcut of Ctrl+D.
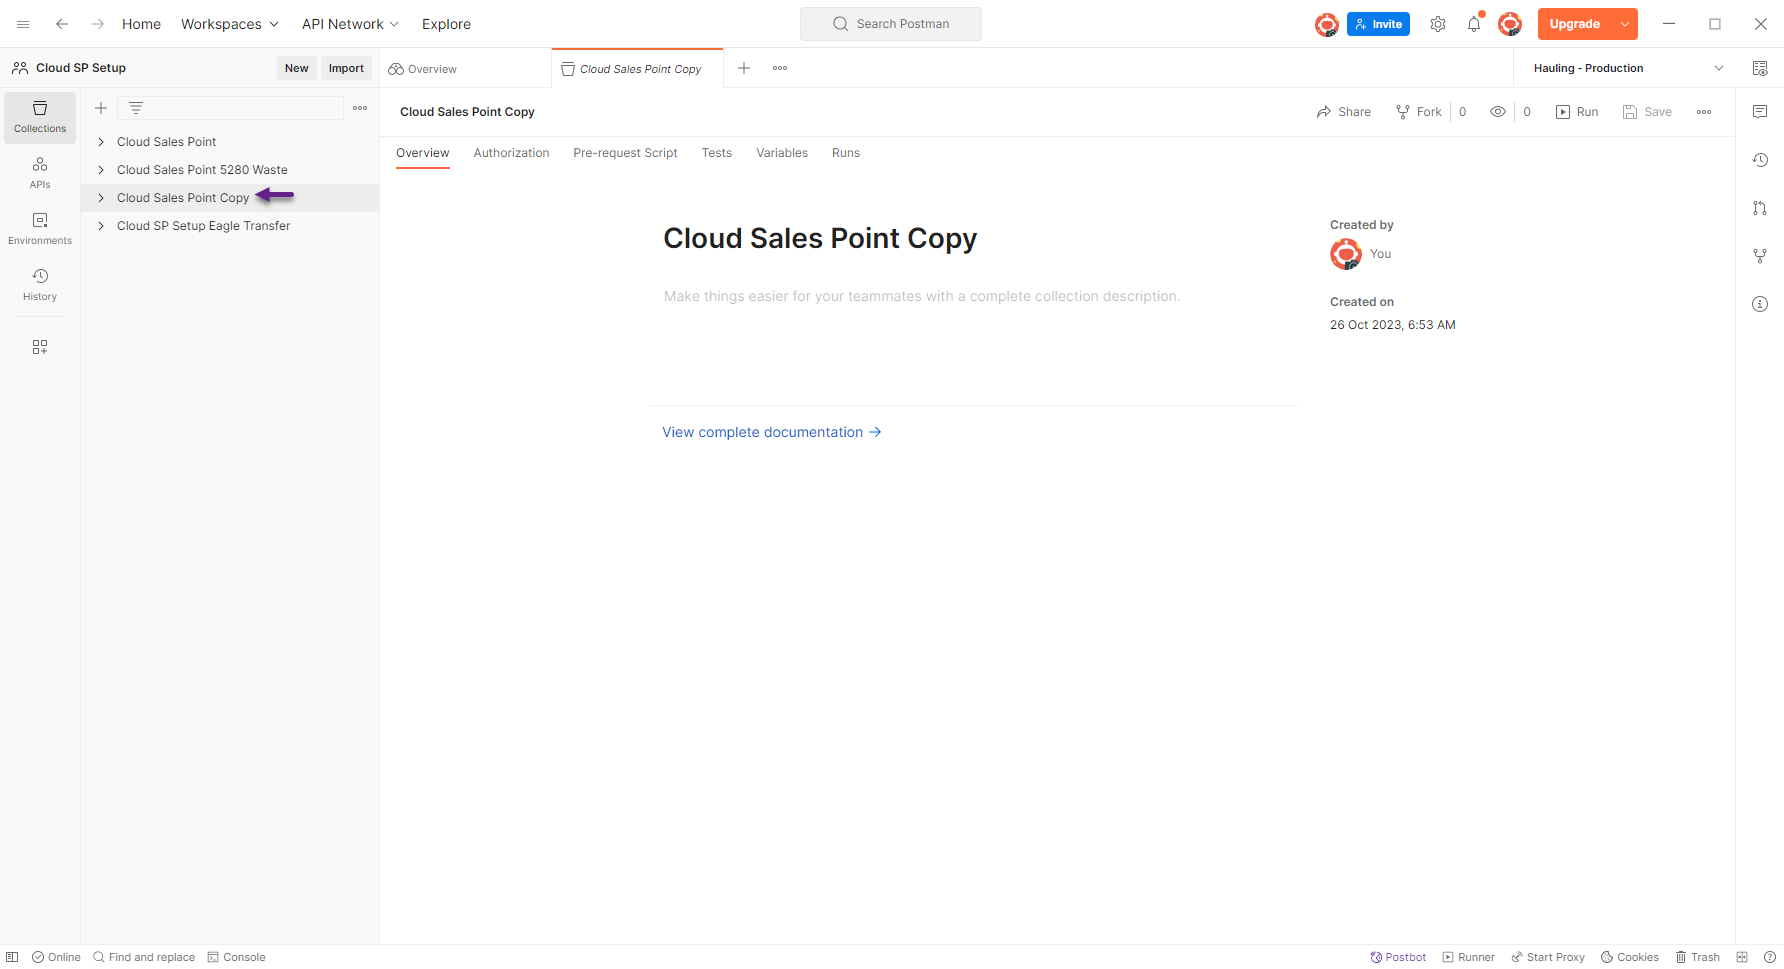
Once it is duplicated you will want to rename it to the Subscriber you are adding SalesPoint for. Right click on the 'Cloud Sales Point Copy' and then Rename. Or you can use the keyboard shortcut of Crtl+E.

Step 2:
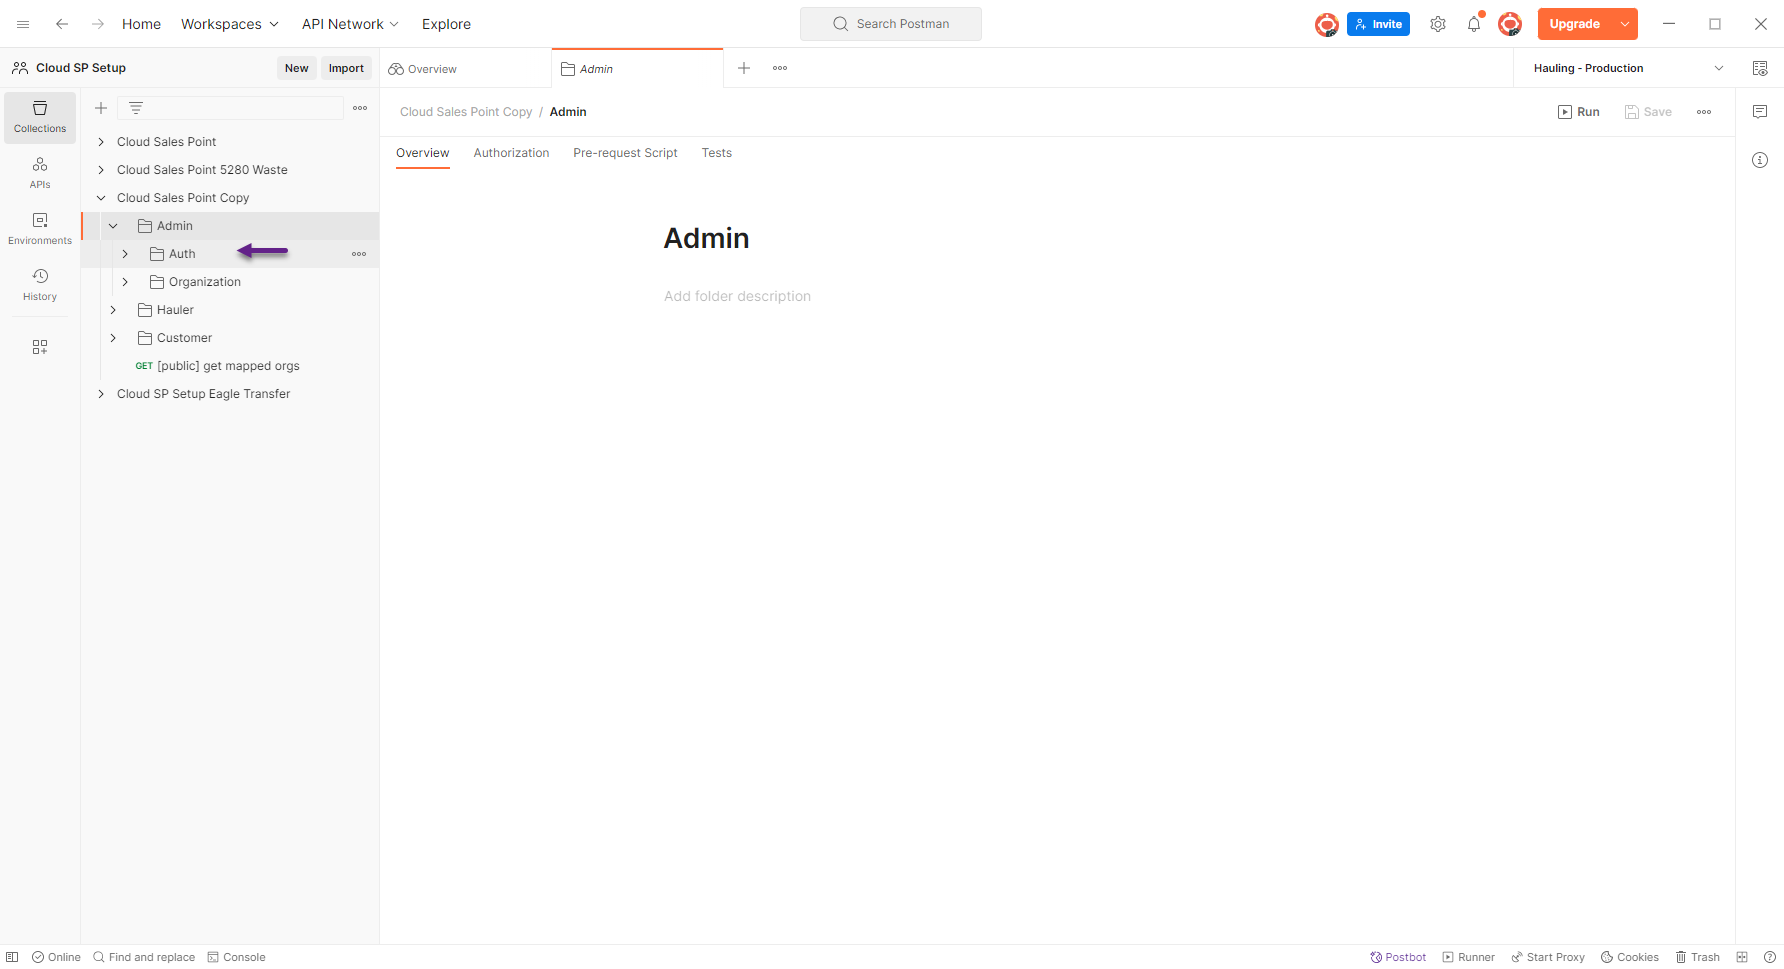
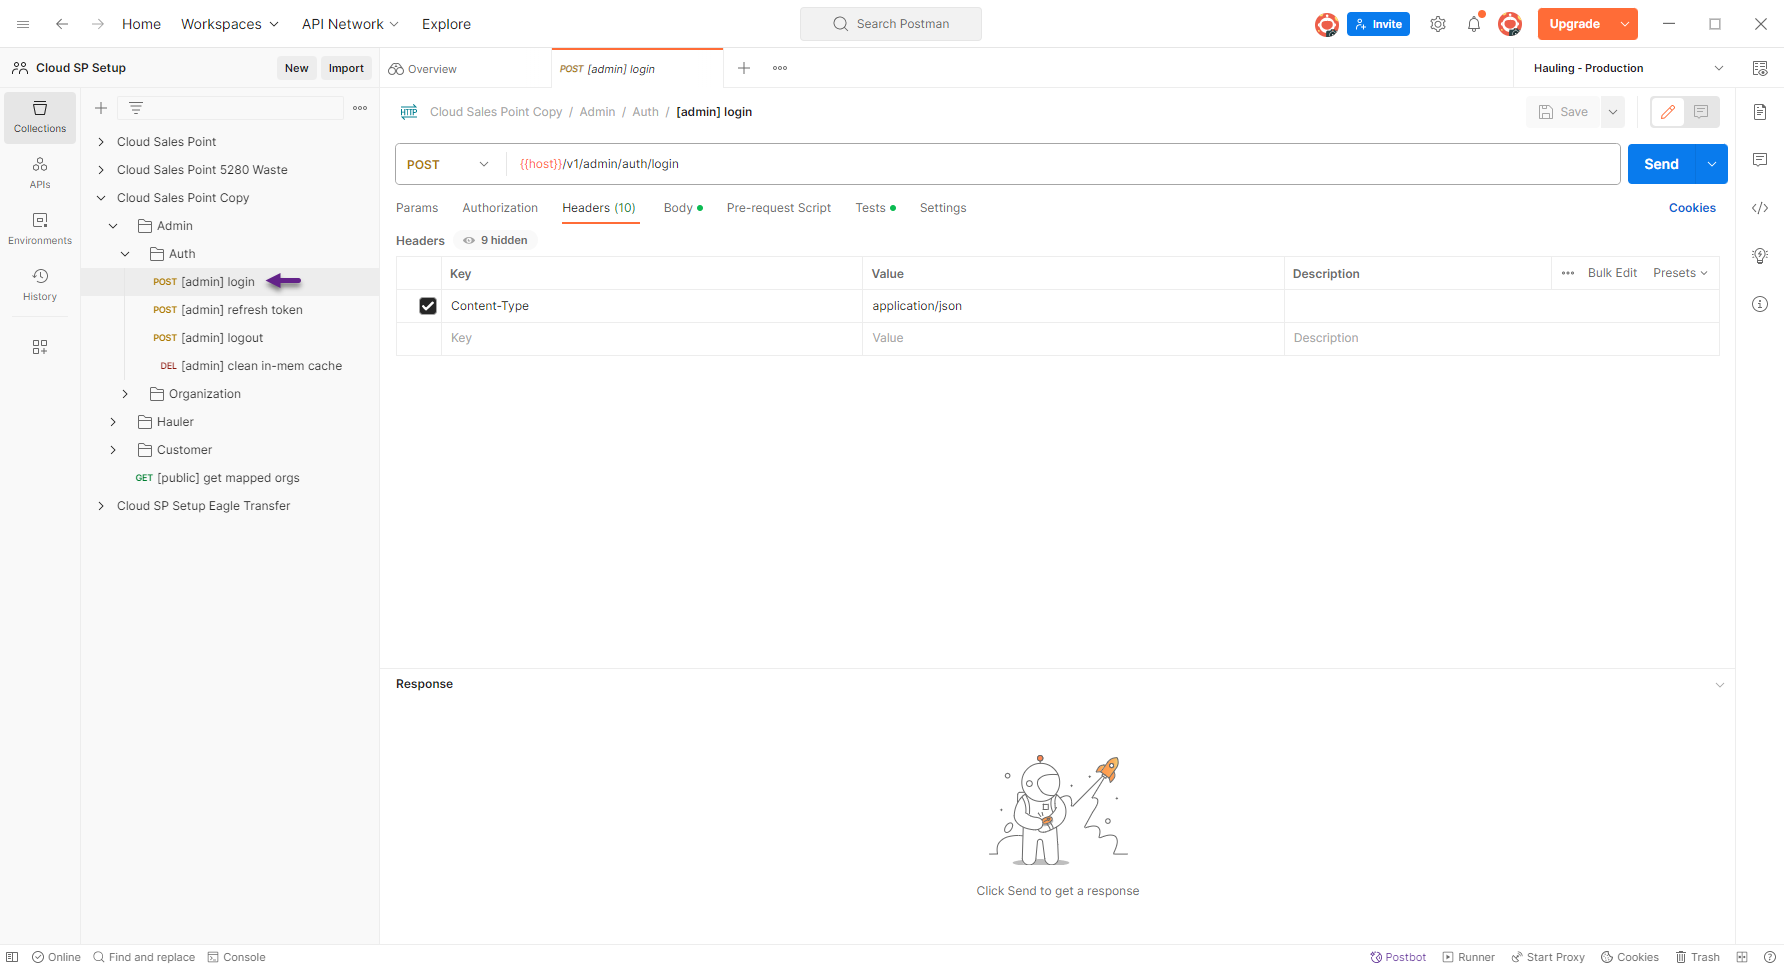
Once your template is setup we need to get the Auth Token. Click on your template and it will open a menu. Click on Admin.
Click on Auth
Click on login. This is where we are going to get our Auth Token.
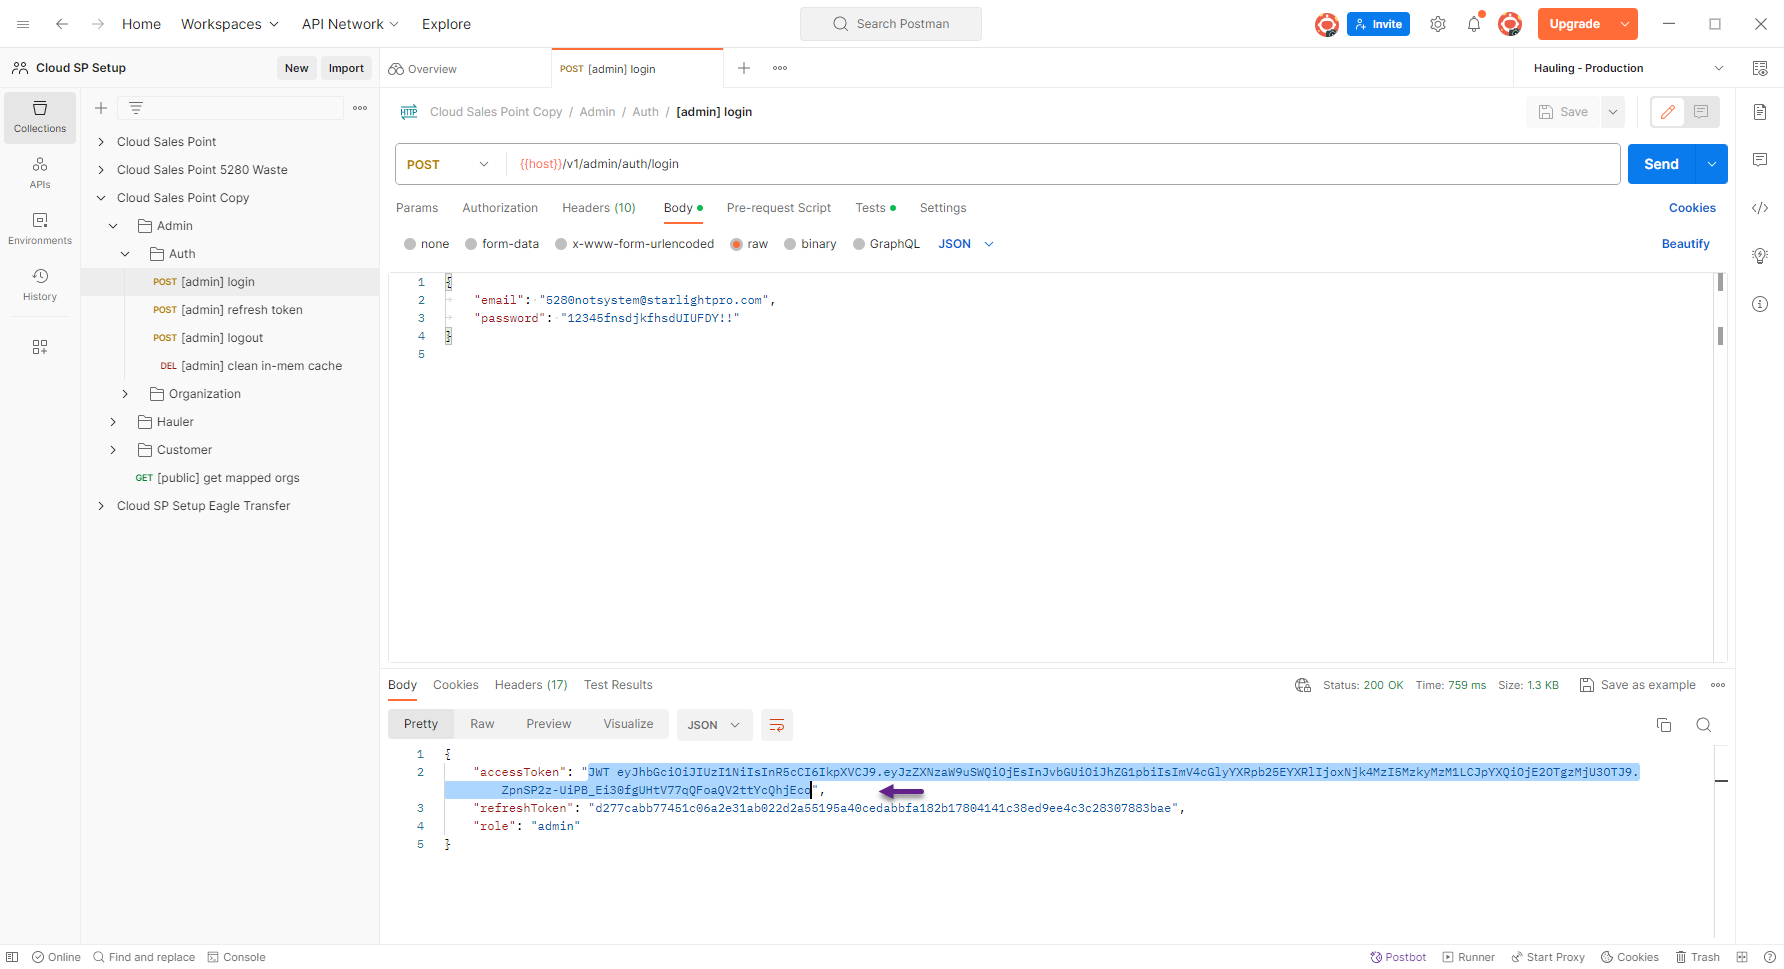
Click on Body and that will bring up an email and password. Click on Send in the upper left hand corner.

You should receive an "accessToken" that will start with JWT and a bunch of alpha numberic data. Copy that entire line without the " ".
Step 3:
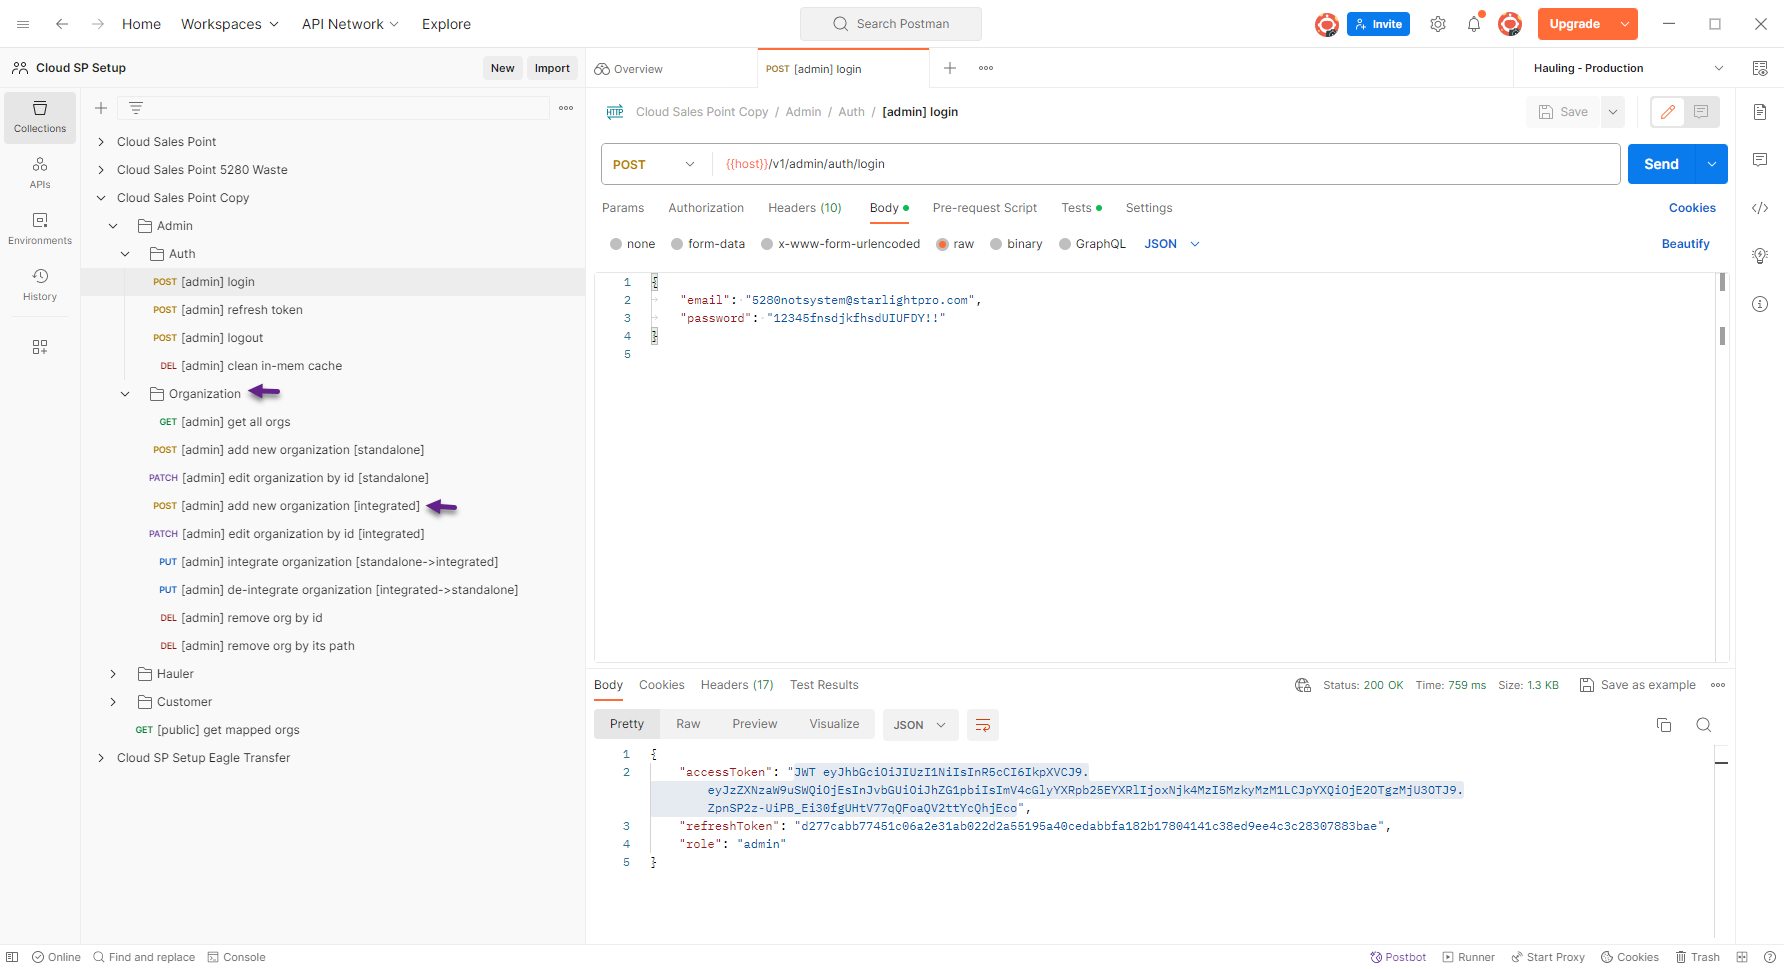
The Auth Token will now need to be copied into the Organization. Below the Auth is the Organization. Click on the Organization. We want to Post 'add new organization [Integrated]
On this page you will want to make sure you are on Headers tab. This is where you will paste your Auth Token you copied.
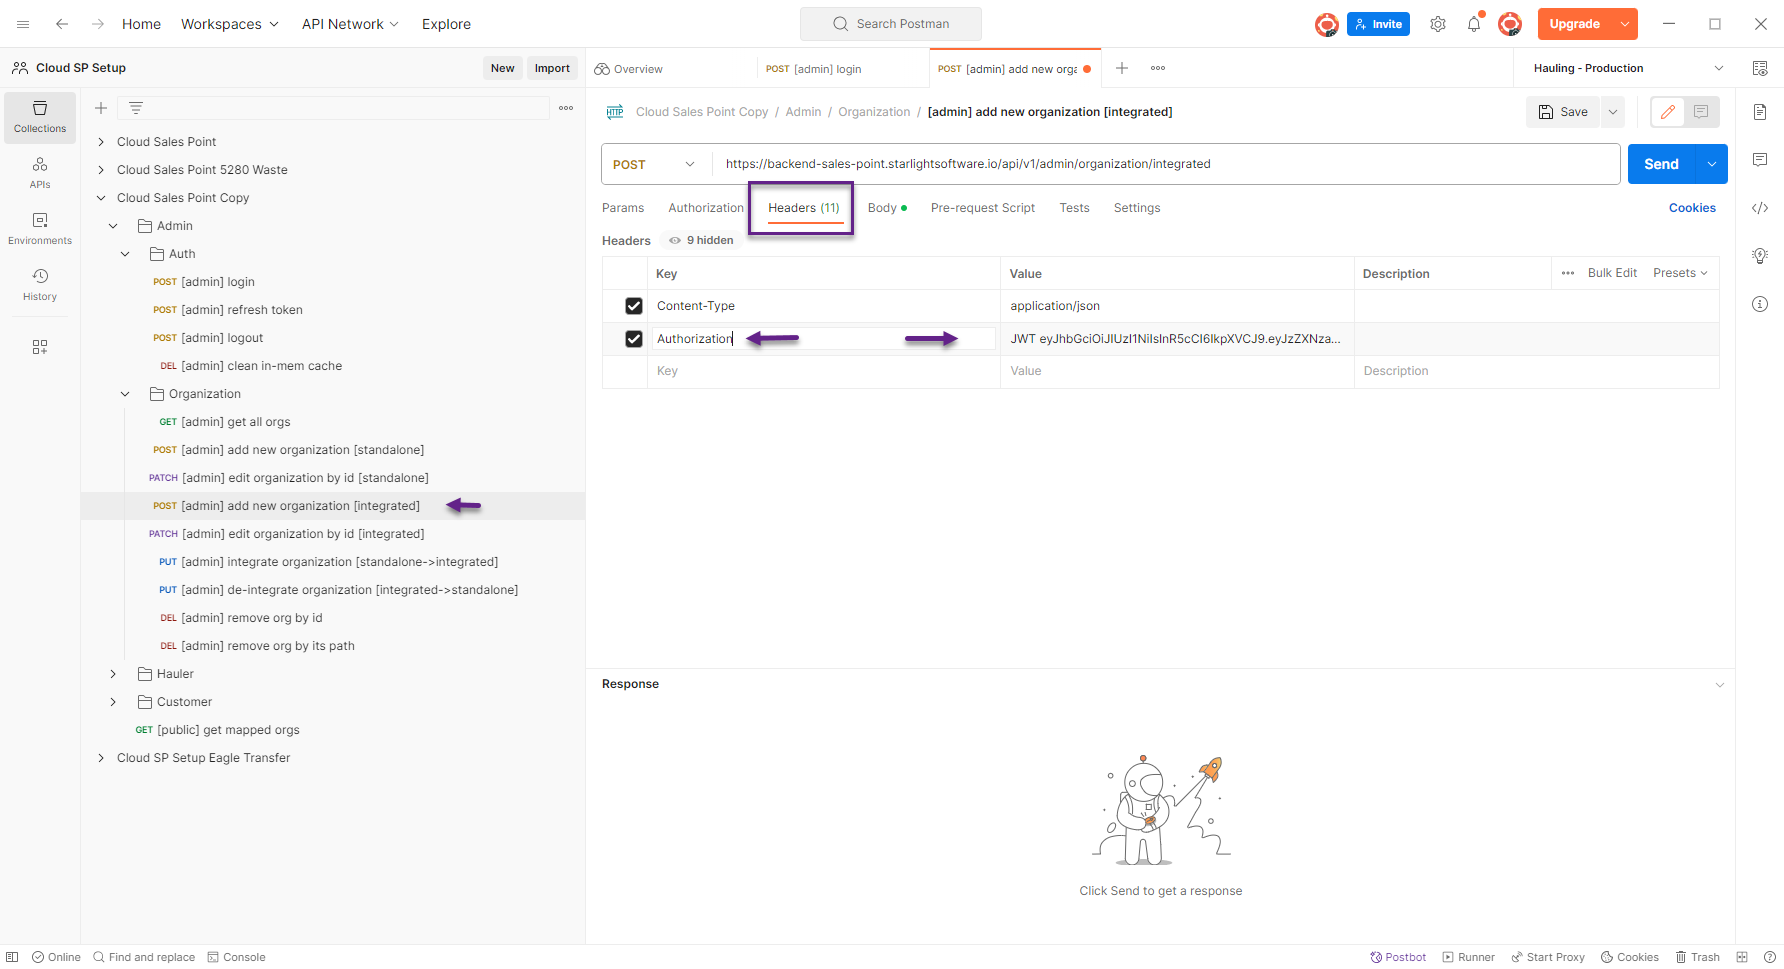
Once you have your Auth Token copied then go over to the Body tab.
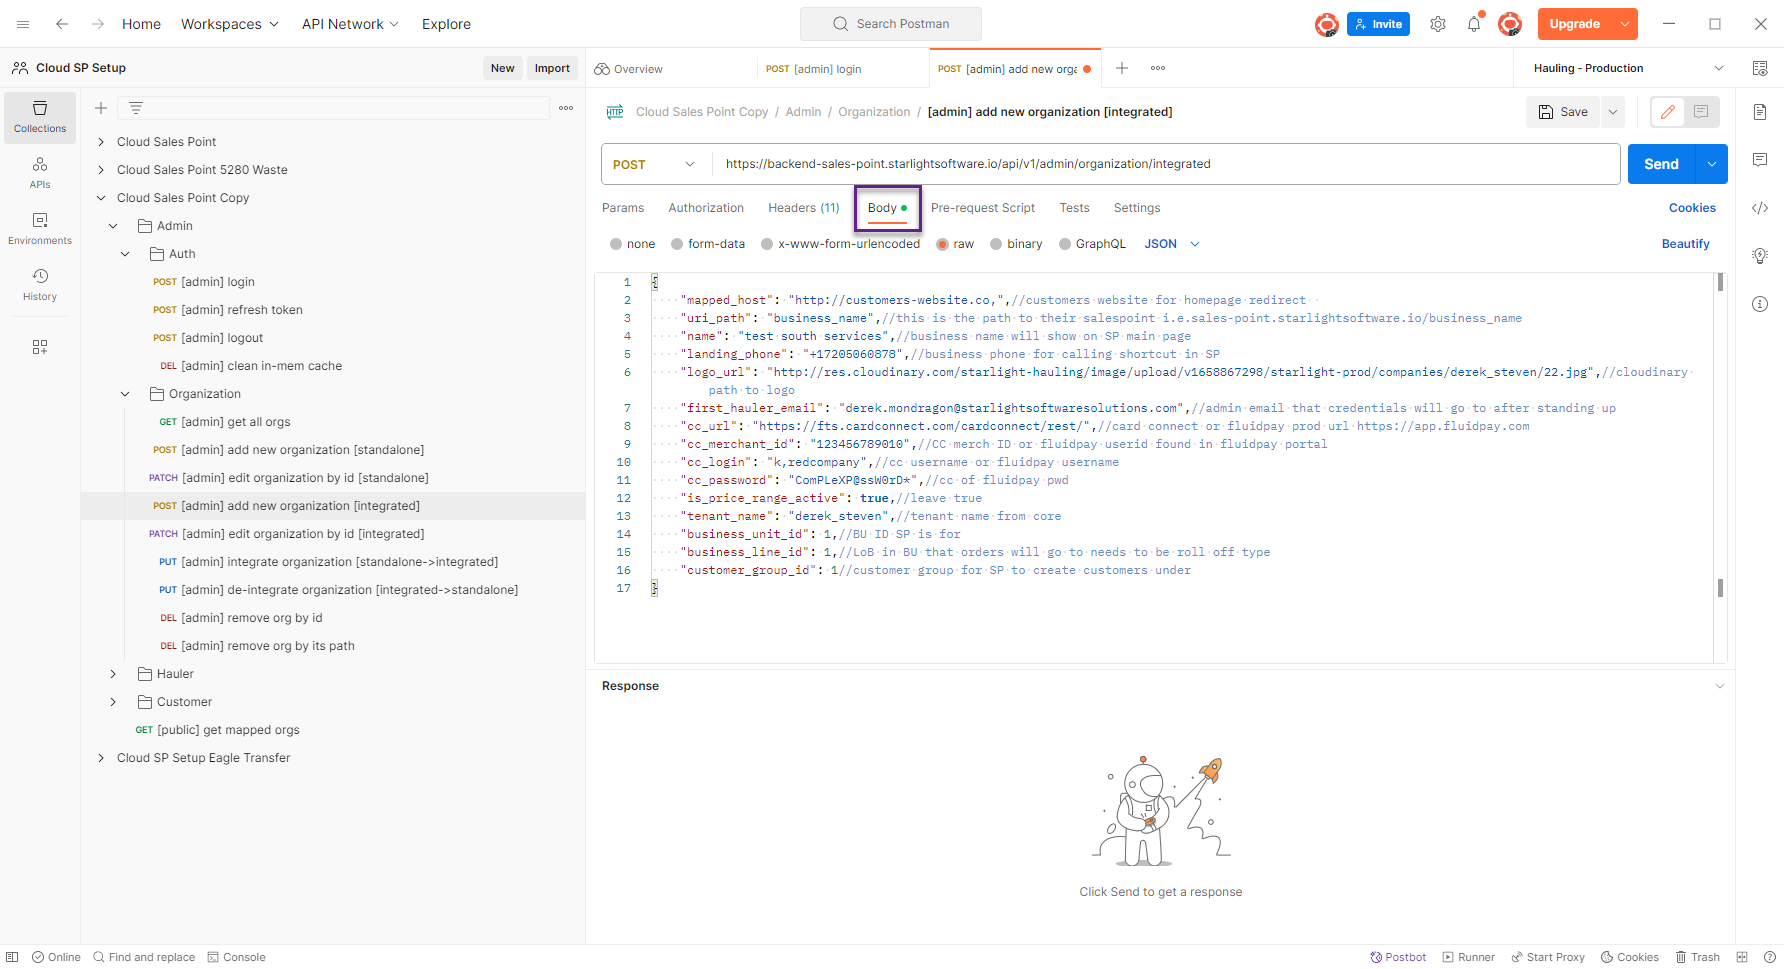
Step 4:
Gather the required data needed in Postman:
Some of this data can be collected from the subscribers tenant. Log into the tenant and go to Global System Configuration. Open Developers Tools and then refresh the page. Go to Network
-
- mapped_host: "https://customers-website.com" - Customer website for homepage redirect
- uri_path: "business_name" - This is the path to their SP i.e. sales_point.starlightsoftware.io/business_name. All lower case, not capital letters.
- name: "test abc roll off" - This is the business name that will show on their SalesPoint landing page.
- landing_phone: "+13031231237" - Business phone for calling shortcut in SalesPoint
- logo_url: This is the logo that will show on their SalesPoint landing page.
- first_hauler_email: This is the email of the person that will be the Admin for SalesPoint
- cc_url: - This will be the FluidPay url: https://app.fluidpay.com
- cc_merchant_id: - This is from the FluidPay Portal
- cc_login: - This is the FluidPay credentials
- cc_password: - This is the FluidPay credentials
- is_price_range_active: - Always leave to true
- tenant_name: Tenant name from core
- business_unit_id: Business Unit that is setting up SalesPoint
- business_line_id: Line of Business that orders will go to needs to be roll-off type
- customer_group_id: customer group for SalesPoint to create customers under. This will be Residential.
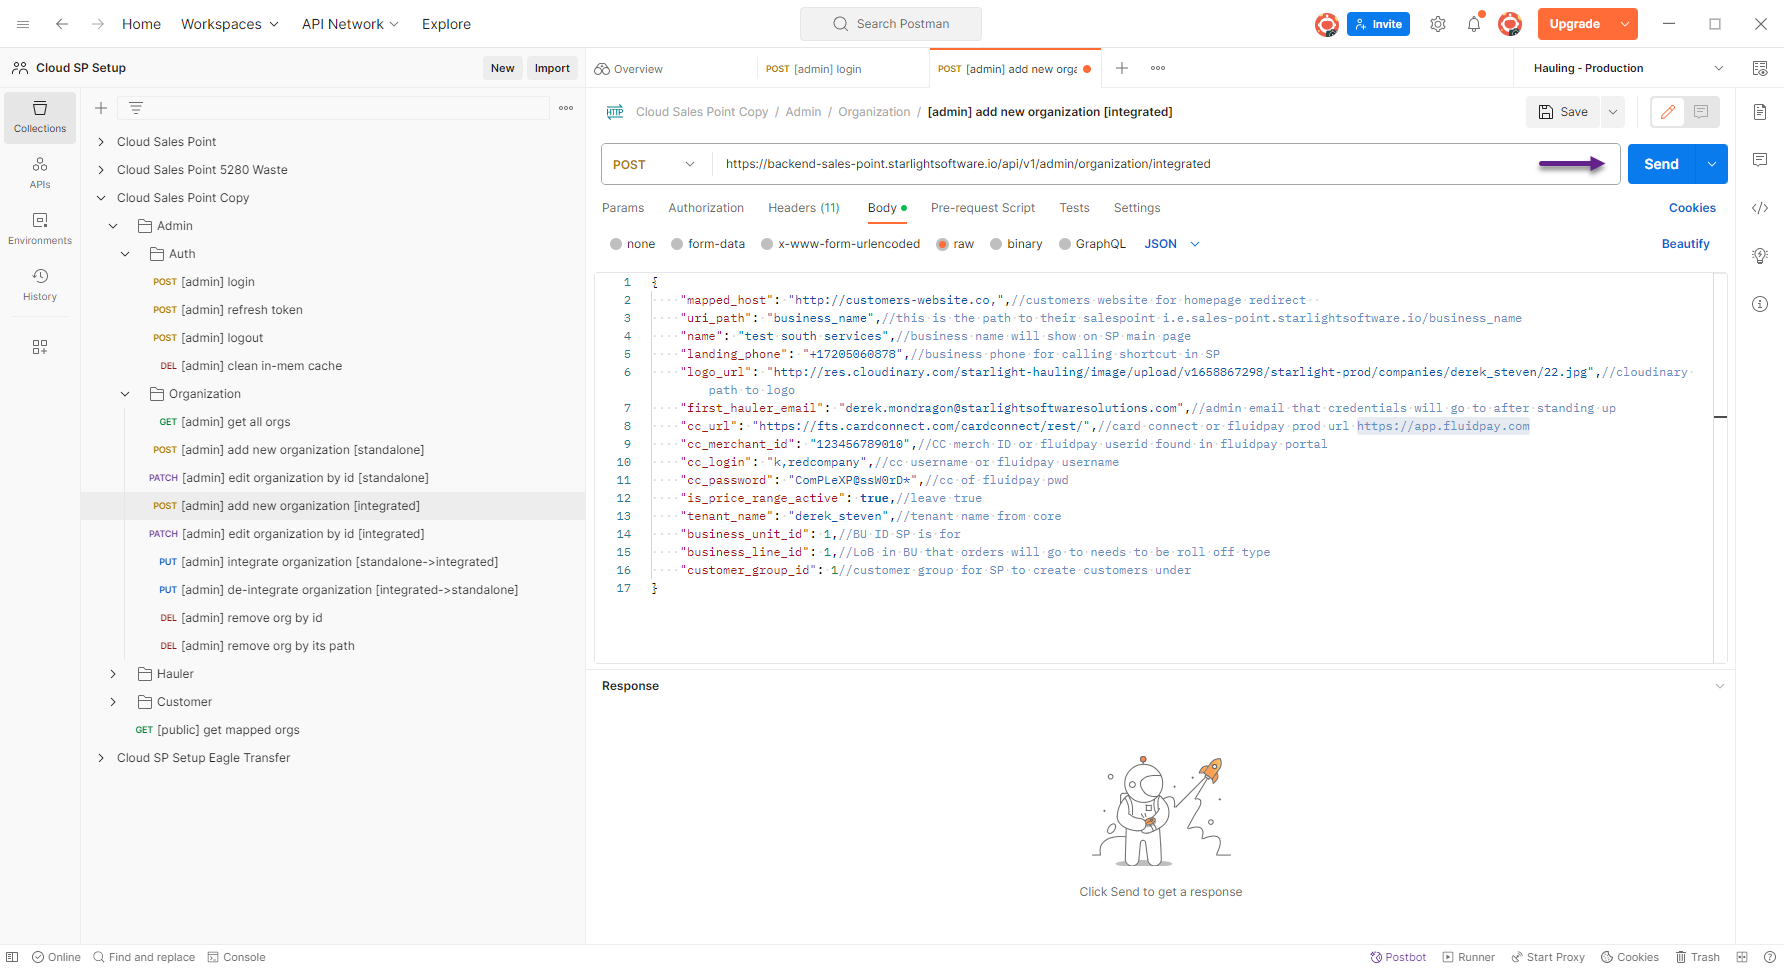
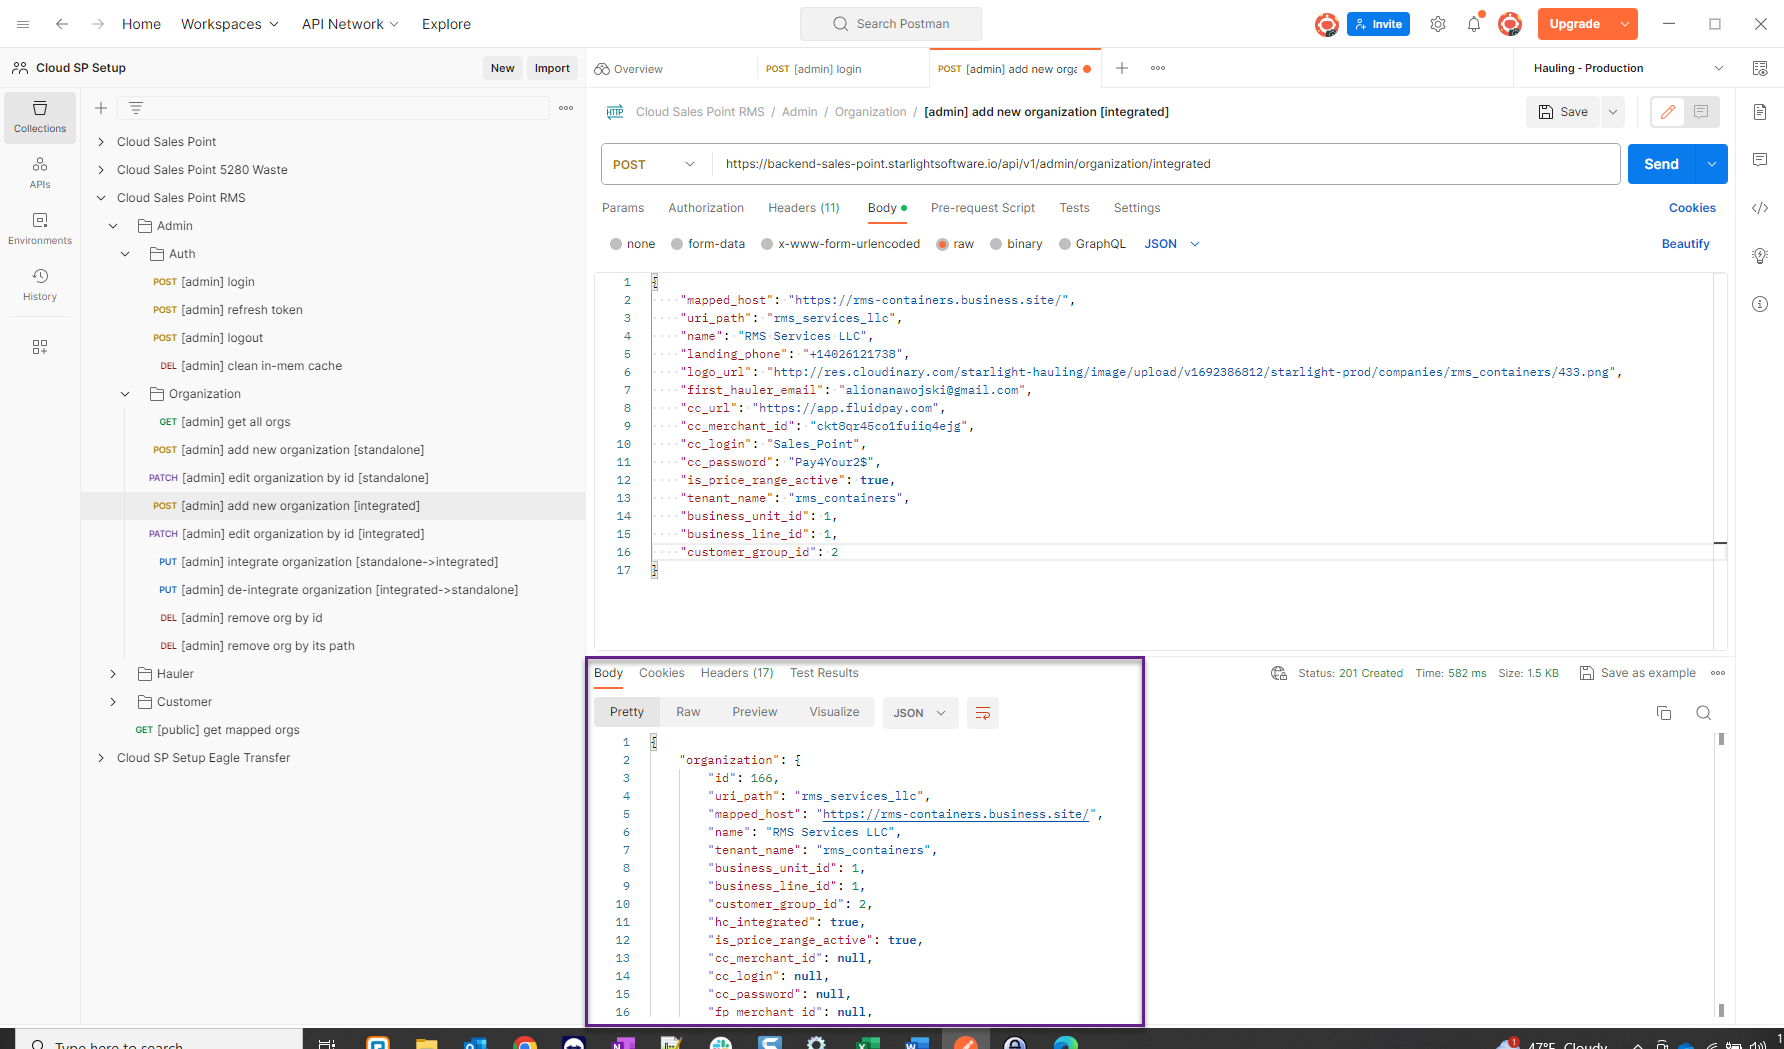
Once all your data is entered you will need to delete the comments and then click on Send in the upper left hand corner. Look at the response at the bottom of the page. If it fails you will need to look at your data entered. If it passes you will see that details.
Successful Response:
Failed Response:
[Insert Screenshot]
Step 5:
After a successful response in Postman the Admin will receive an email that contains the URL and credentials for SalesPoint for the Admin setup.
Ask the subscriber to please forward that email to you. This is what that email will look like:
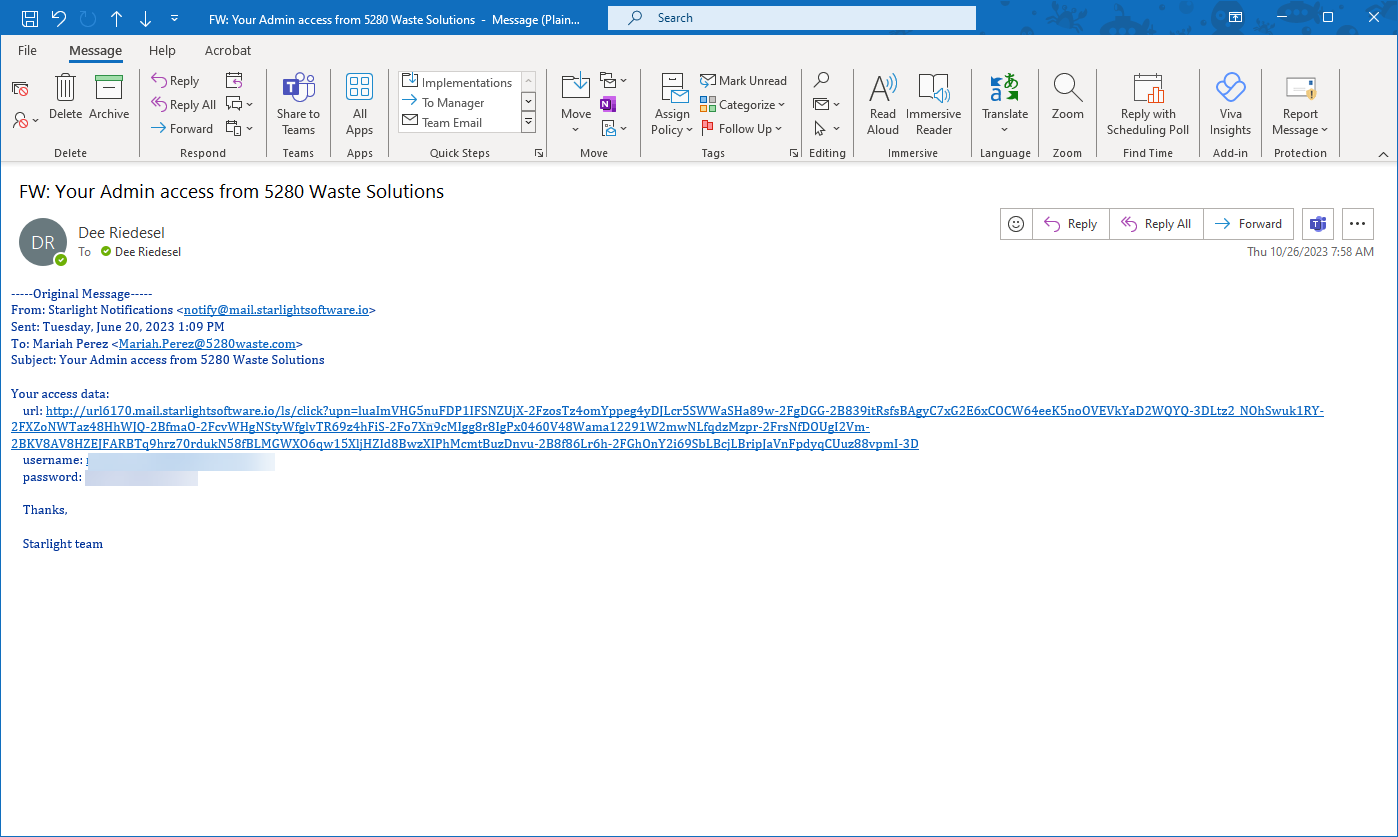
Once you receive that email you will then access SalesPoint and do the configuration.
Move onto SalesPoint Cloud - SalesPoint Admin Setup